POS Program Installation
1. Verona Download
Request the Installer file from us and we will send you the latest installer
2. Installation
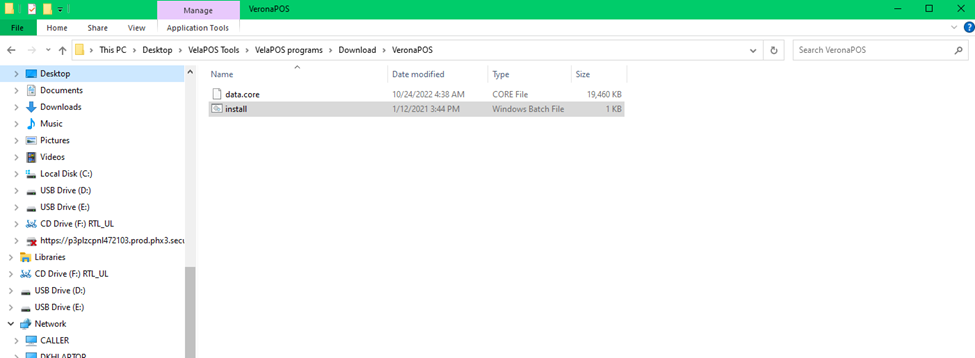
1. Unzip the downloaded zip file from the link above and go into the folder
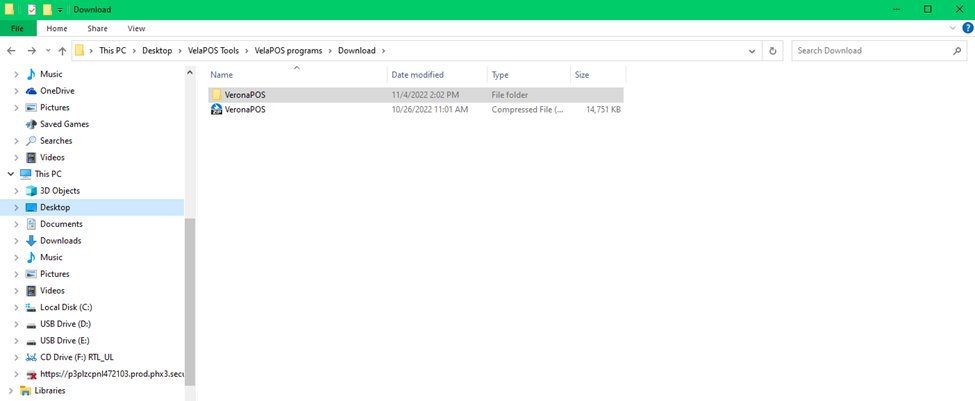
2. Double click the install.bat and the installer program will download & install all necessary POS programs.
Do notice that this process will automatically reboot your POS system.
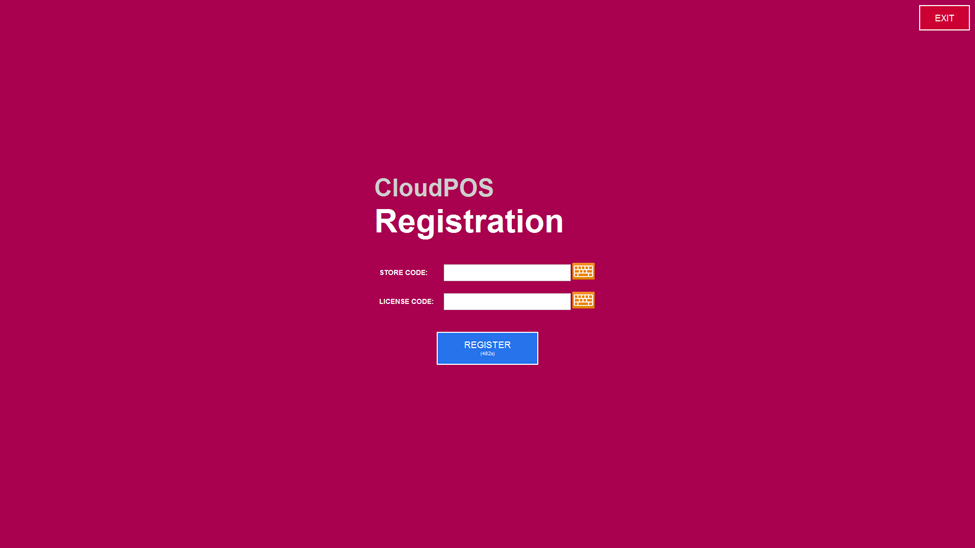
3. After the PC restarts and download all necessary programs, you will be prompted with CloudPOS Registration screen.
Contact Customer Support to get these information.
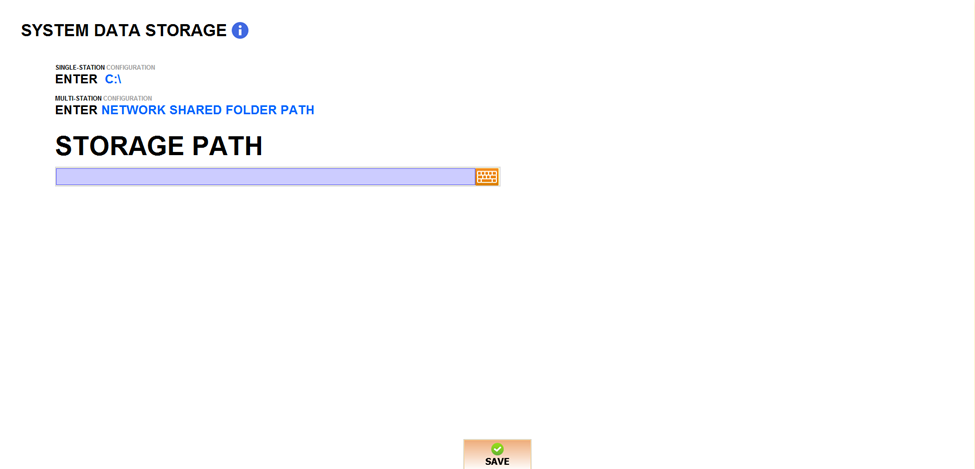
4. When the POS ask for the System Data Storage input following information, depending on the situation:
- Single Station: Enter C:\
- Multi-Station: Enter Network shared folder path (See Network Setup Guide for how to create network shared folder.
- LINK: https://docv2.veronapos.com/technical-support-time-line/network-setup-guide
3. Default Access Code for Setting & Employee
Once you’ve input the storage path, your POS has successfully installed and is ready to use.
Customize the POS setting and create employee account using MENU option on top right corner of the POS.
The default access code is 4444