How to Split Tickets
When each person is paying for their own expense on the same ticket/table you may use the Split Ticket function to create separate tickets.
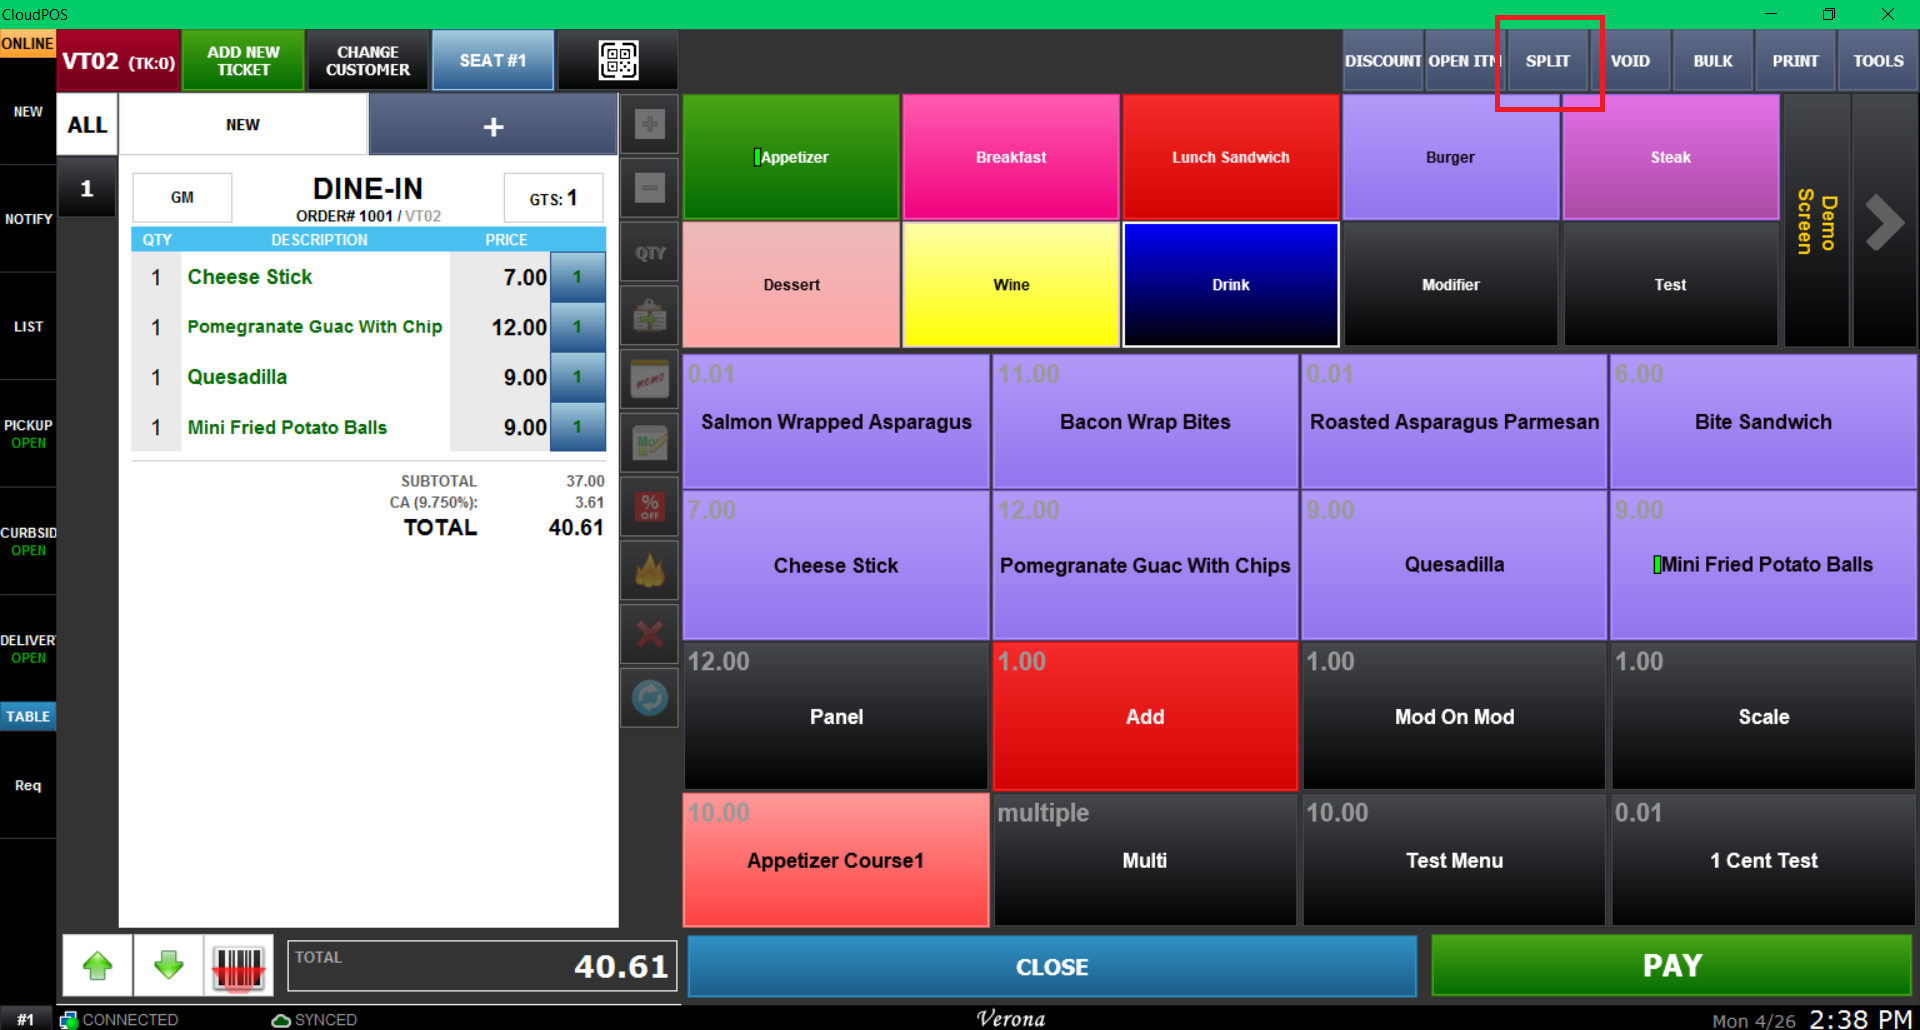
Main screen > Log-in > Sales Screen
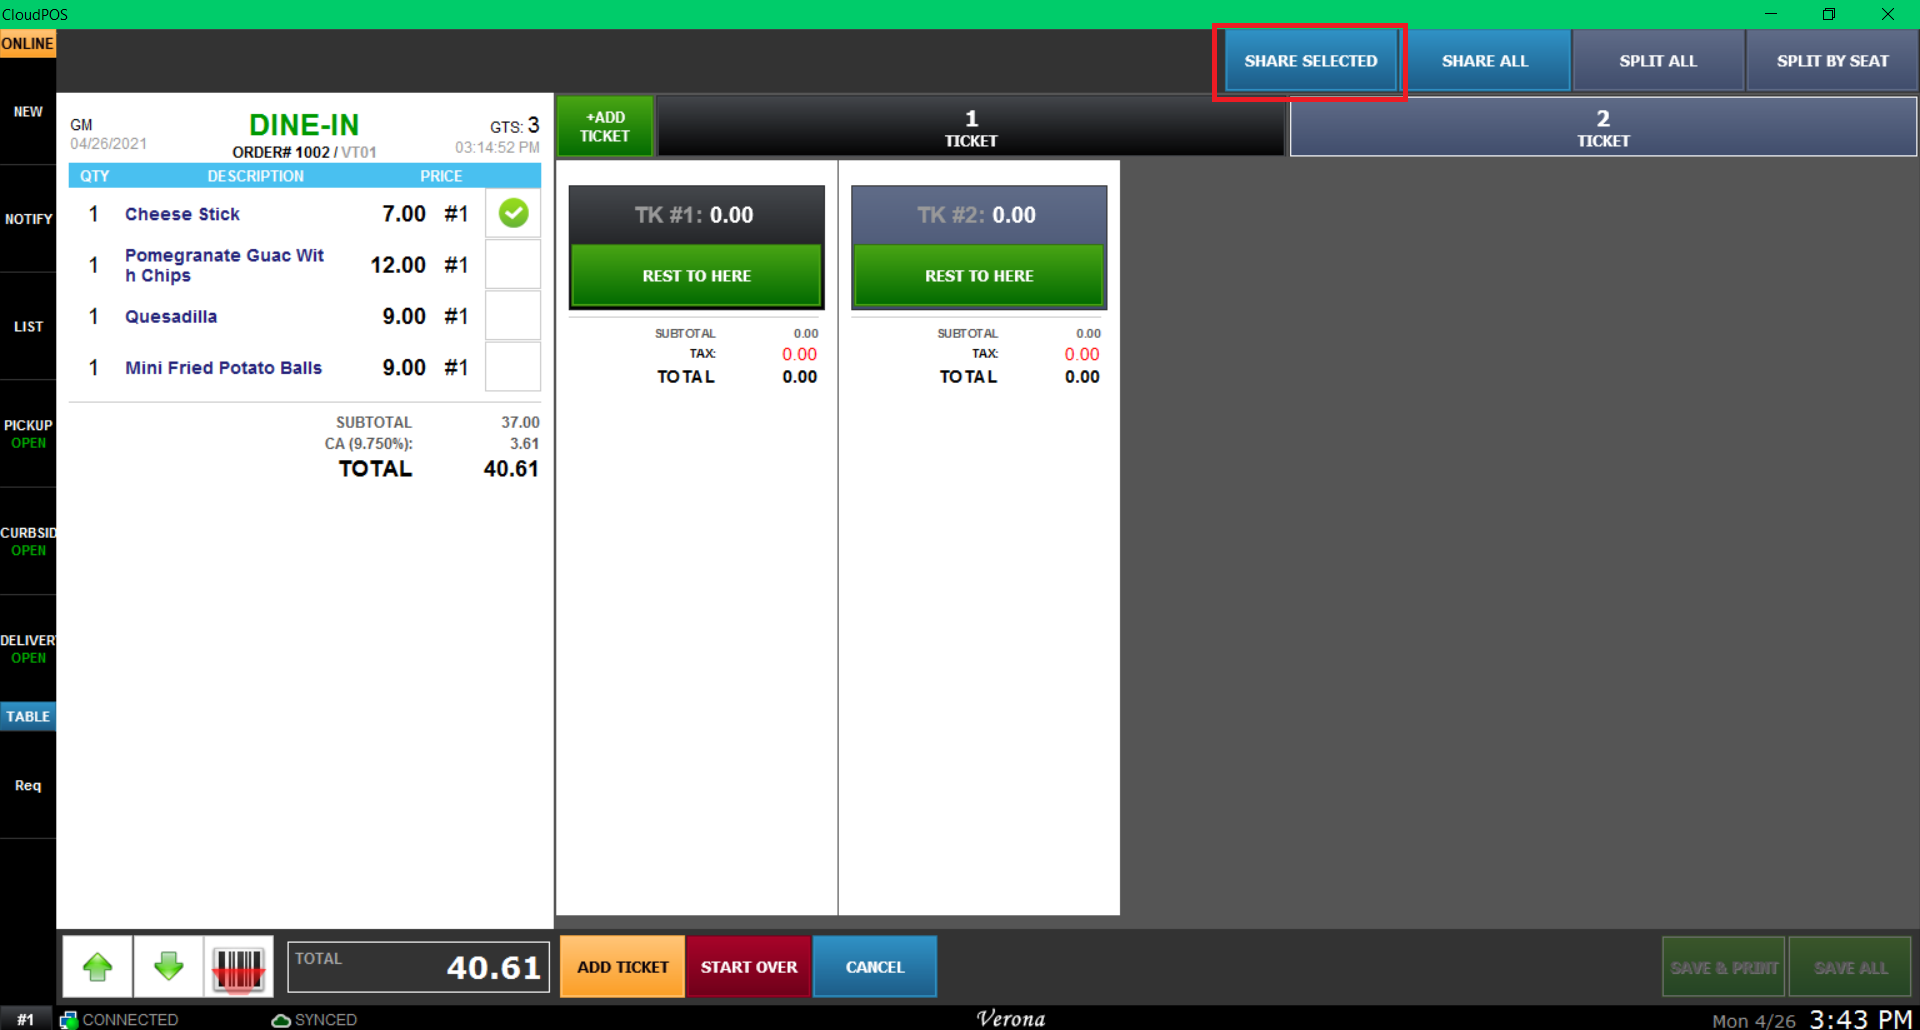
Use the "SPLIT" Button on the item toolbar,
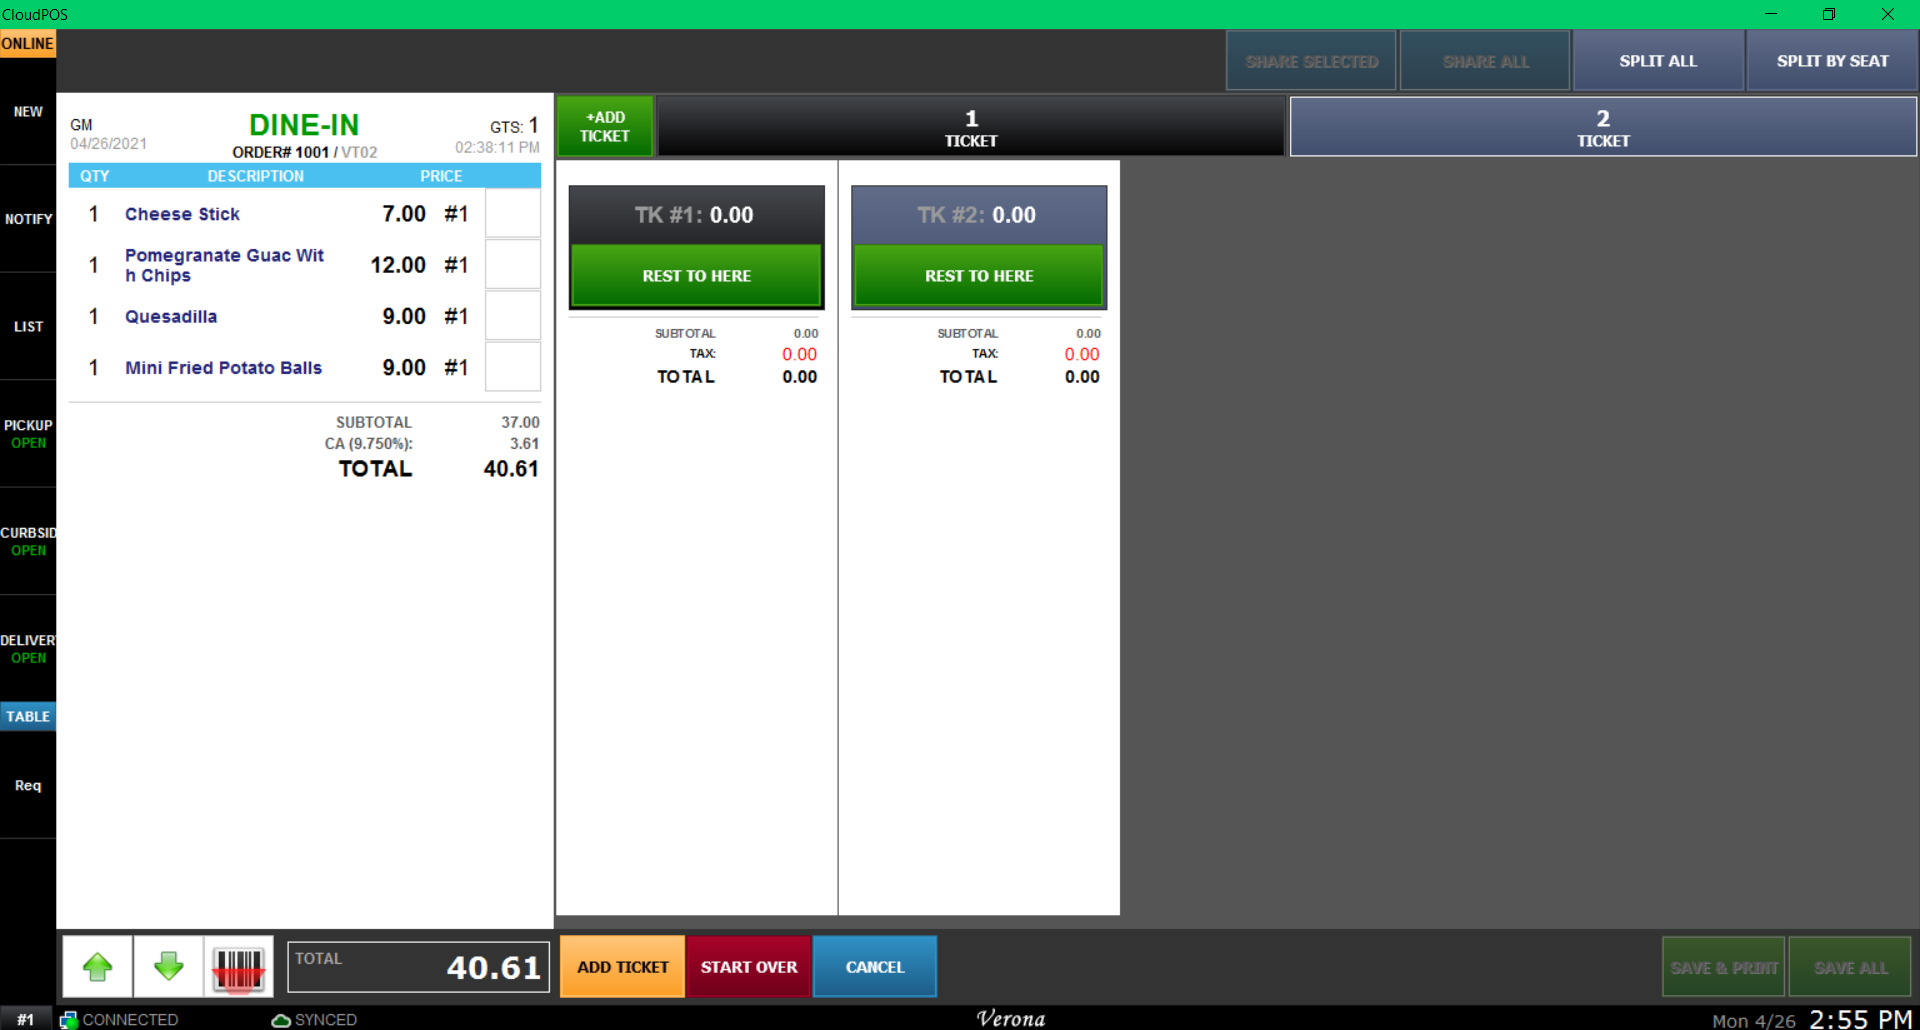
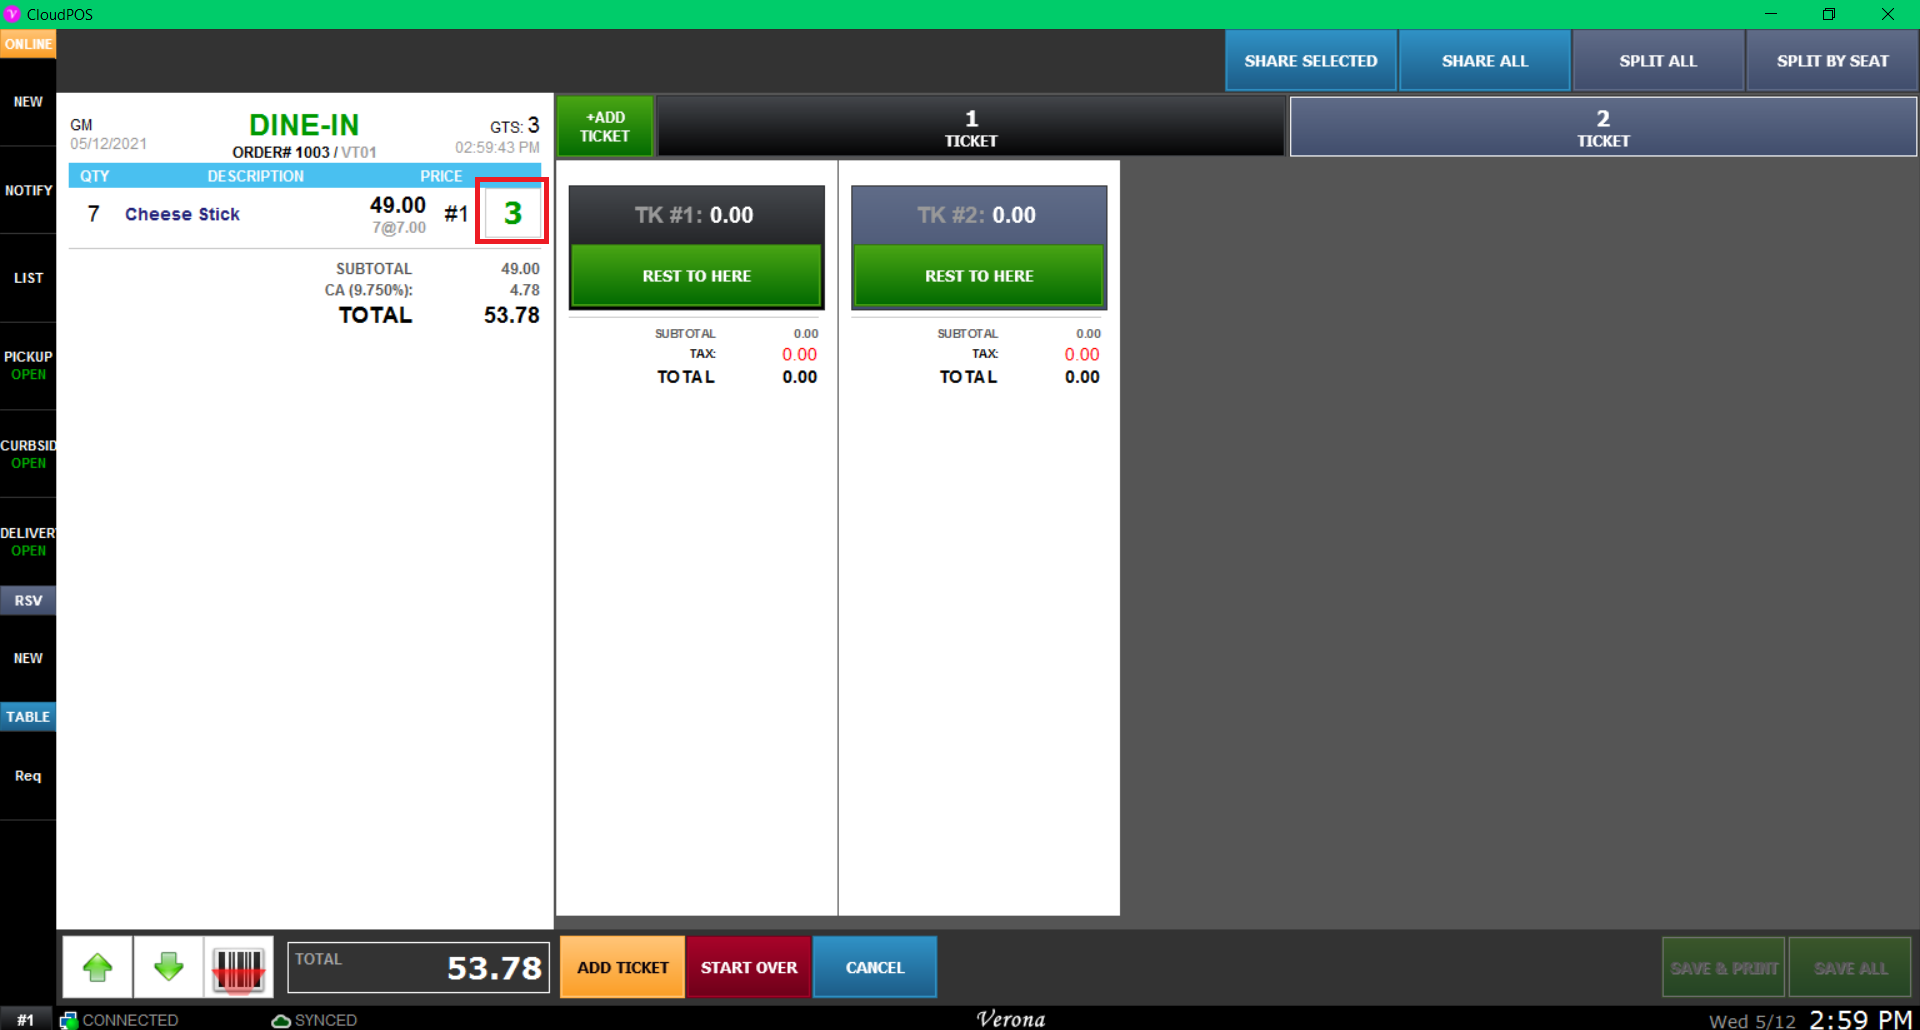
Use add tickets according to how many people are paying to create tickets per person.

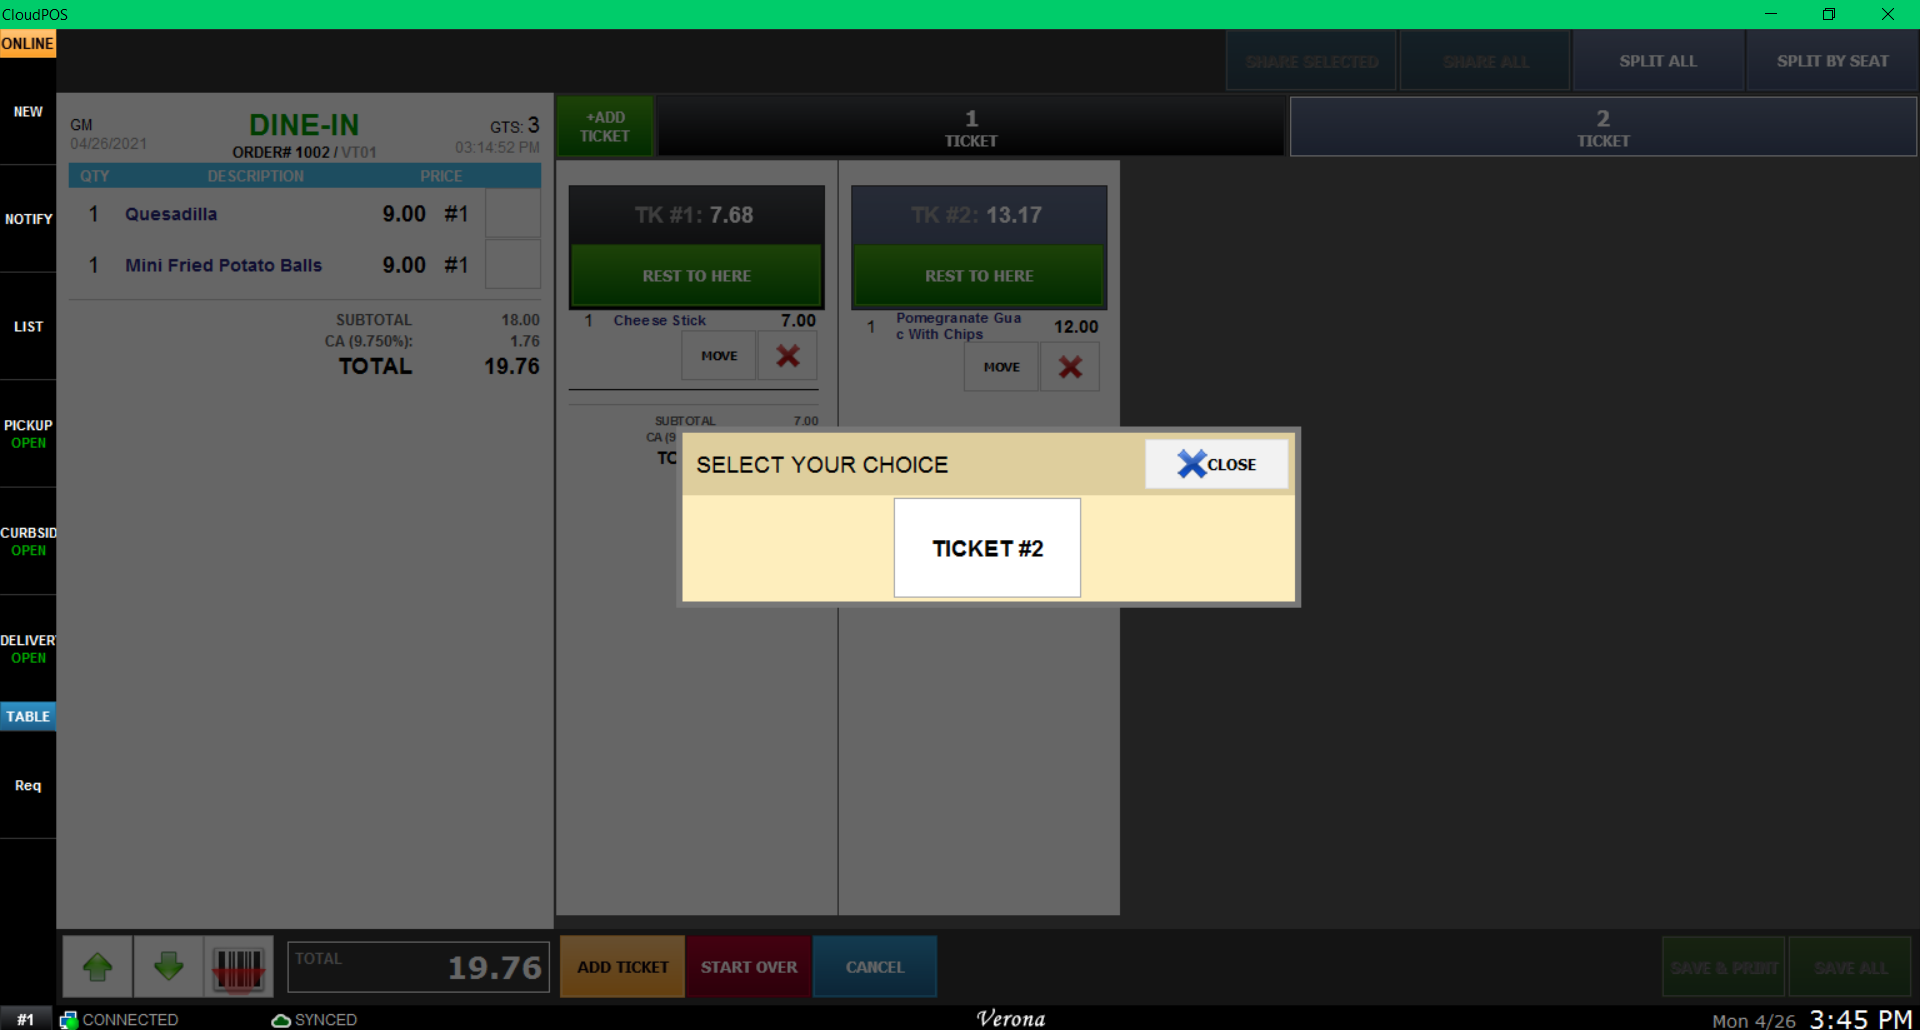
Next, select the item you want to move, and press the ticket where the item needs to go.

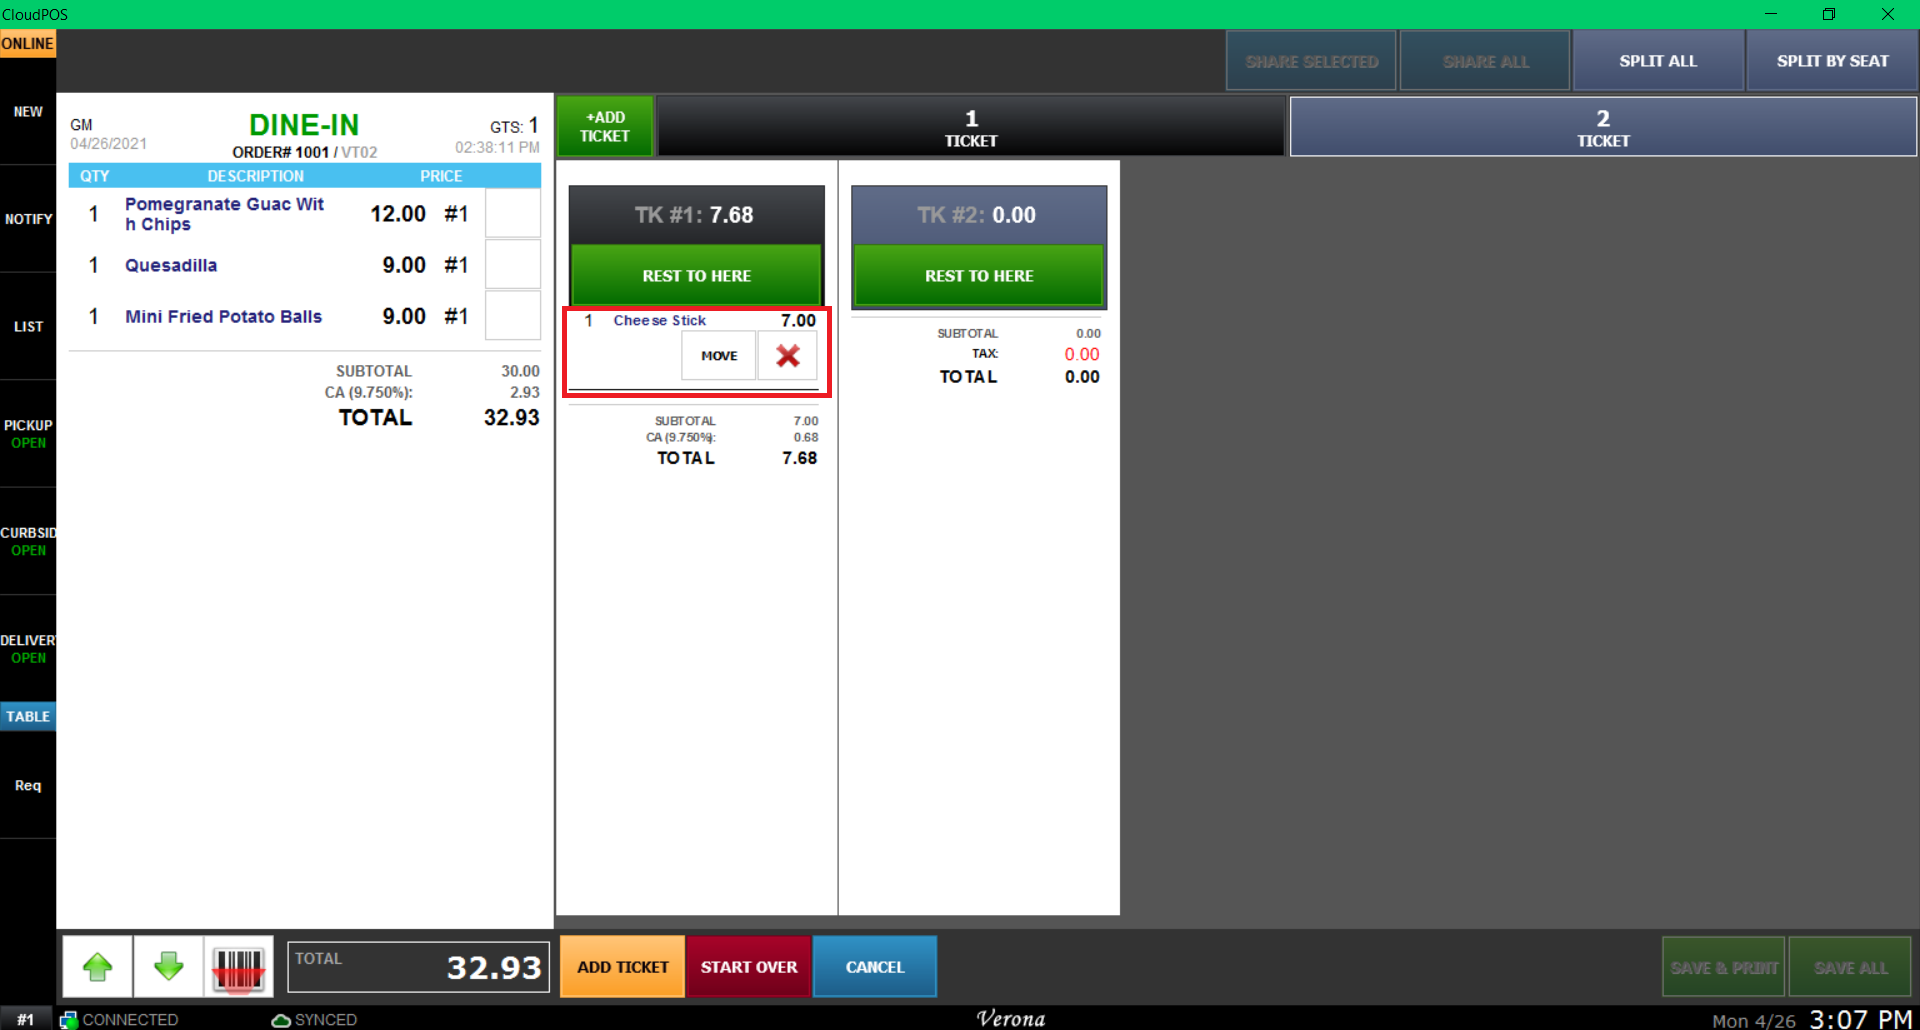
If the item has more than one quantity, you can select it multiple times to increase the quantity you want to move.

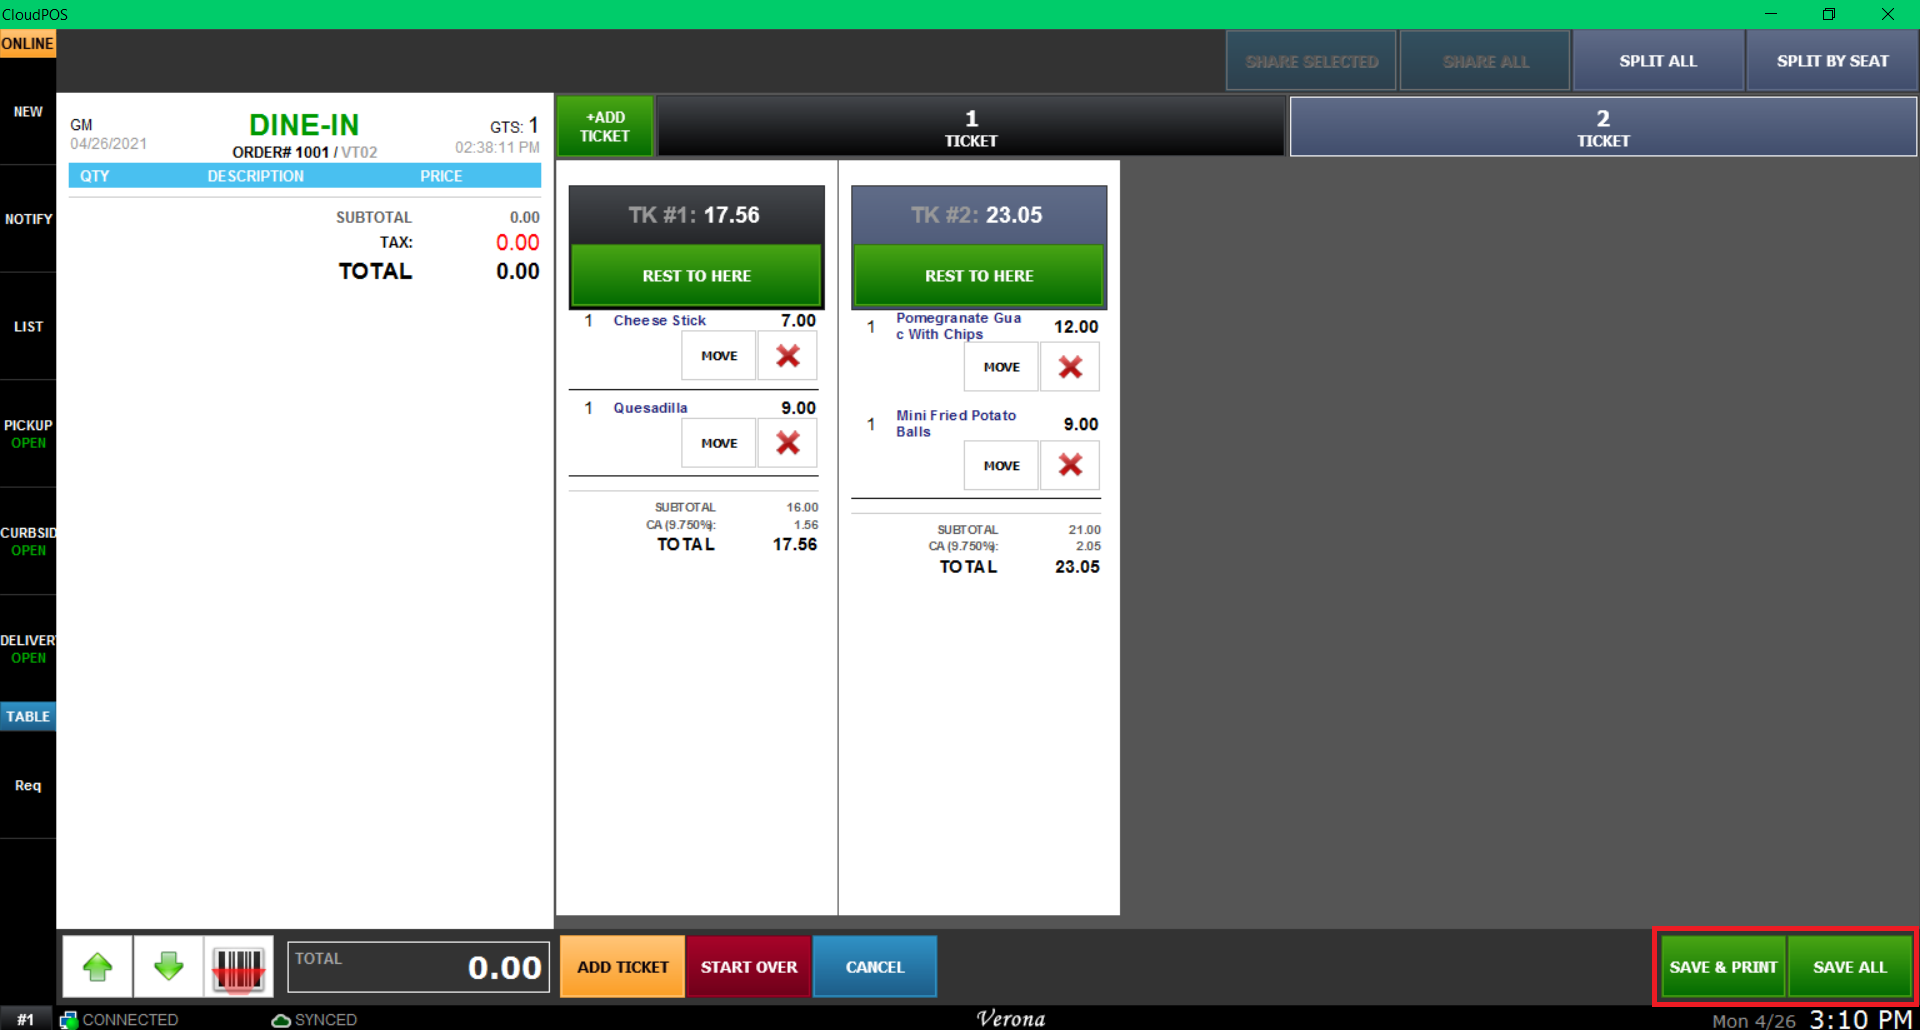
Move all items where they need to be and once you are done, press Save ALL or you may select Save & Print to print the check receipts immediately.
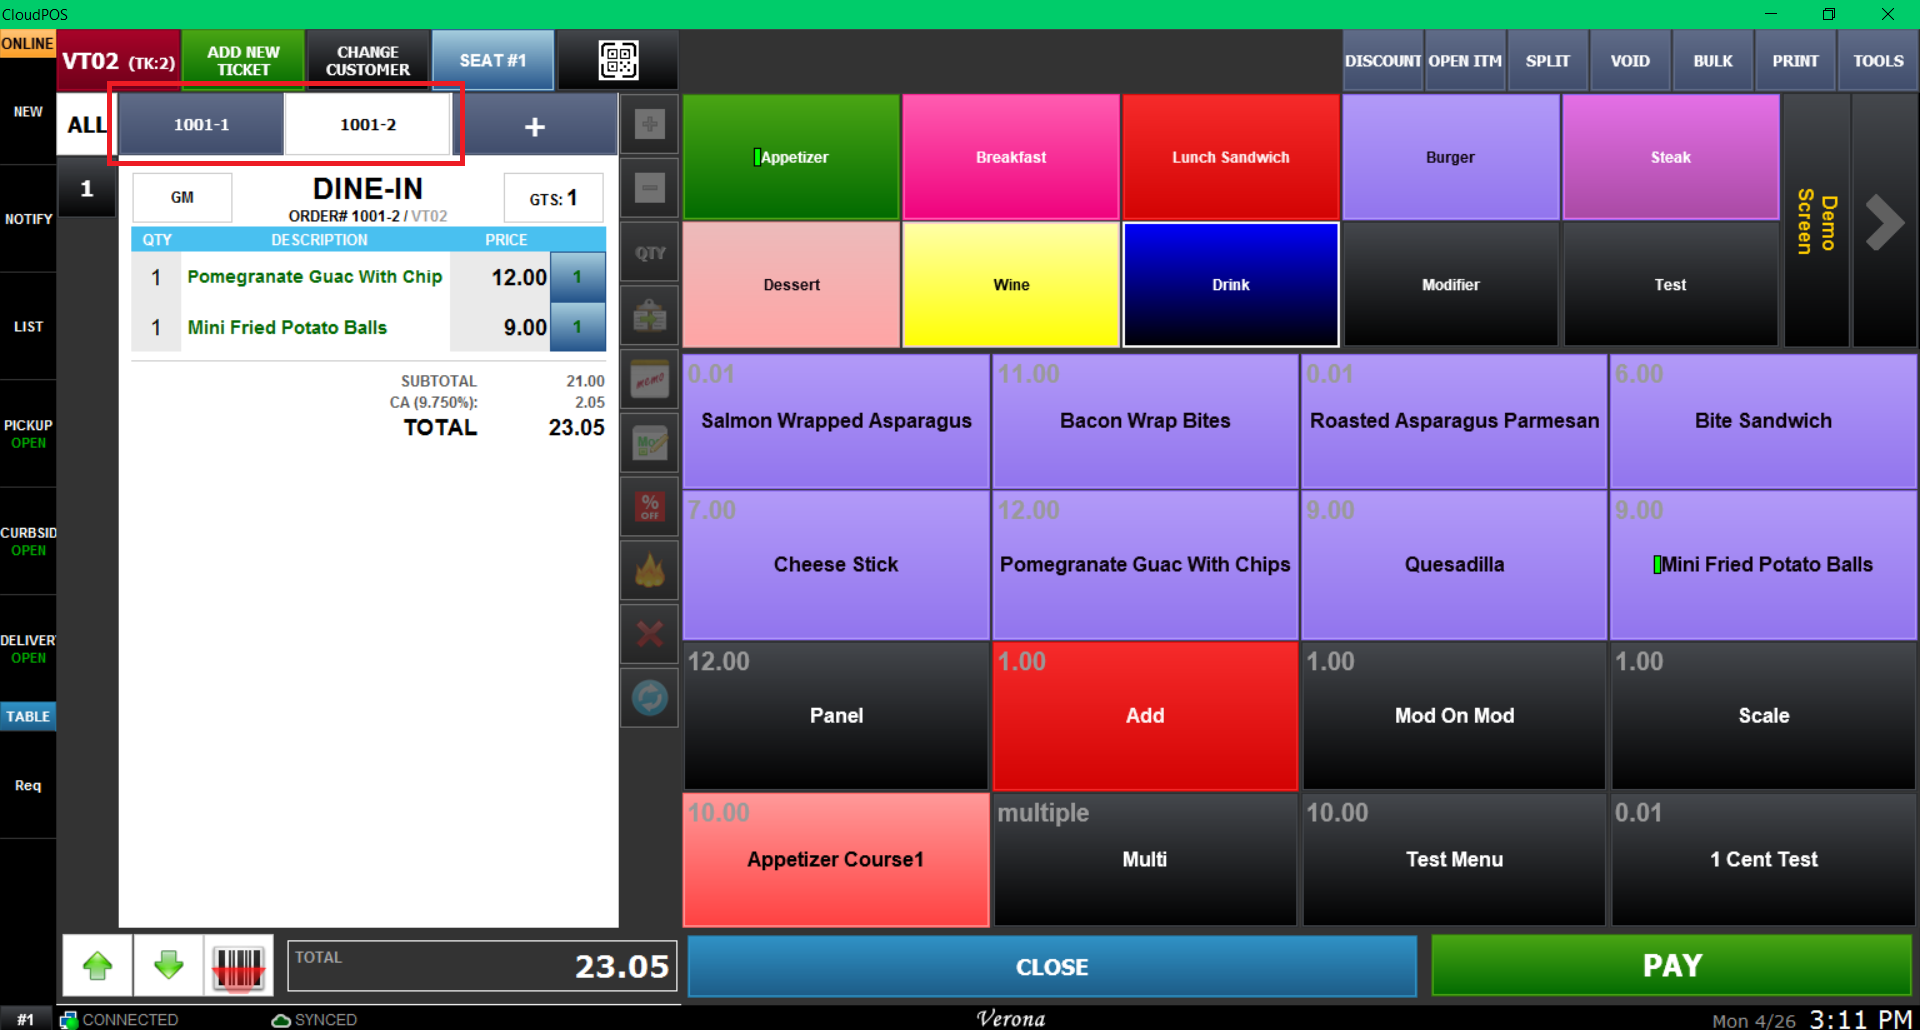
Two (or more) tickets will be present on the same table, you may start using the pay function to pay each person's own expense.

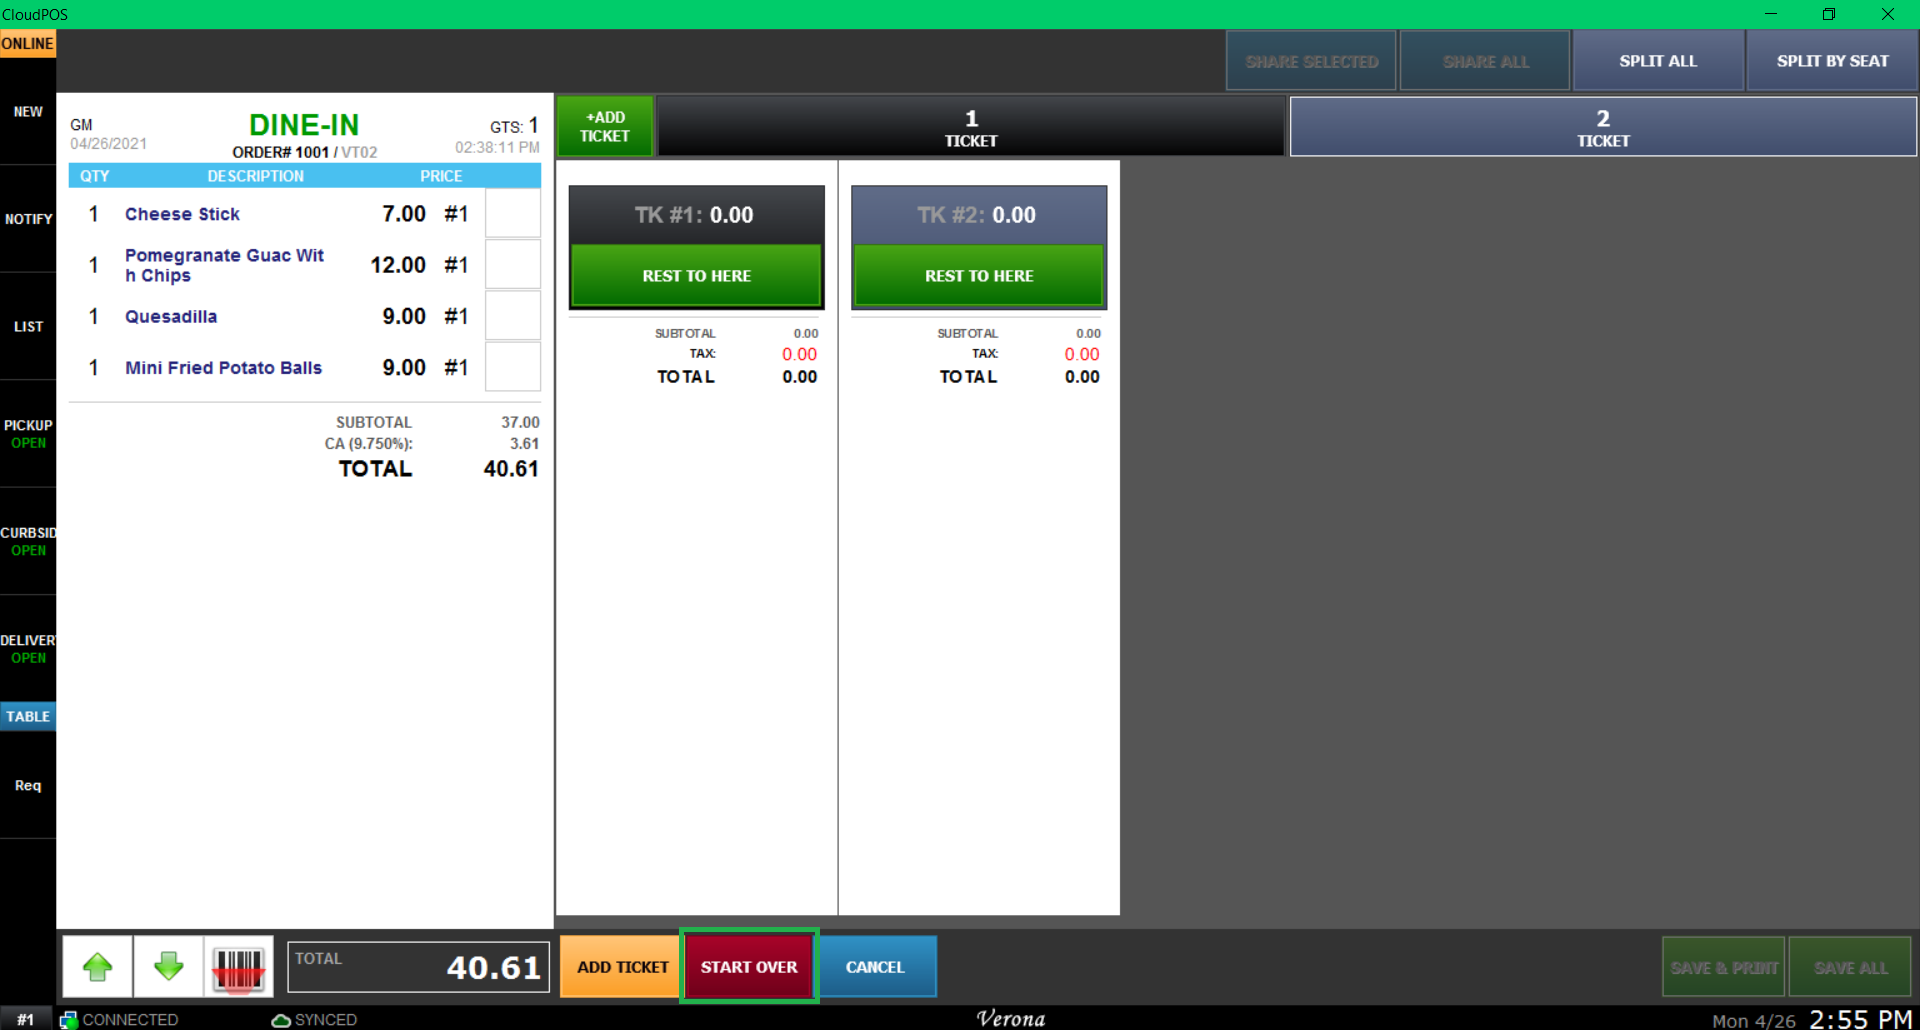
If you made a mistake while splitting the ticket, you can choose the START OVER to reset the change.
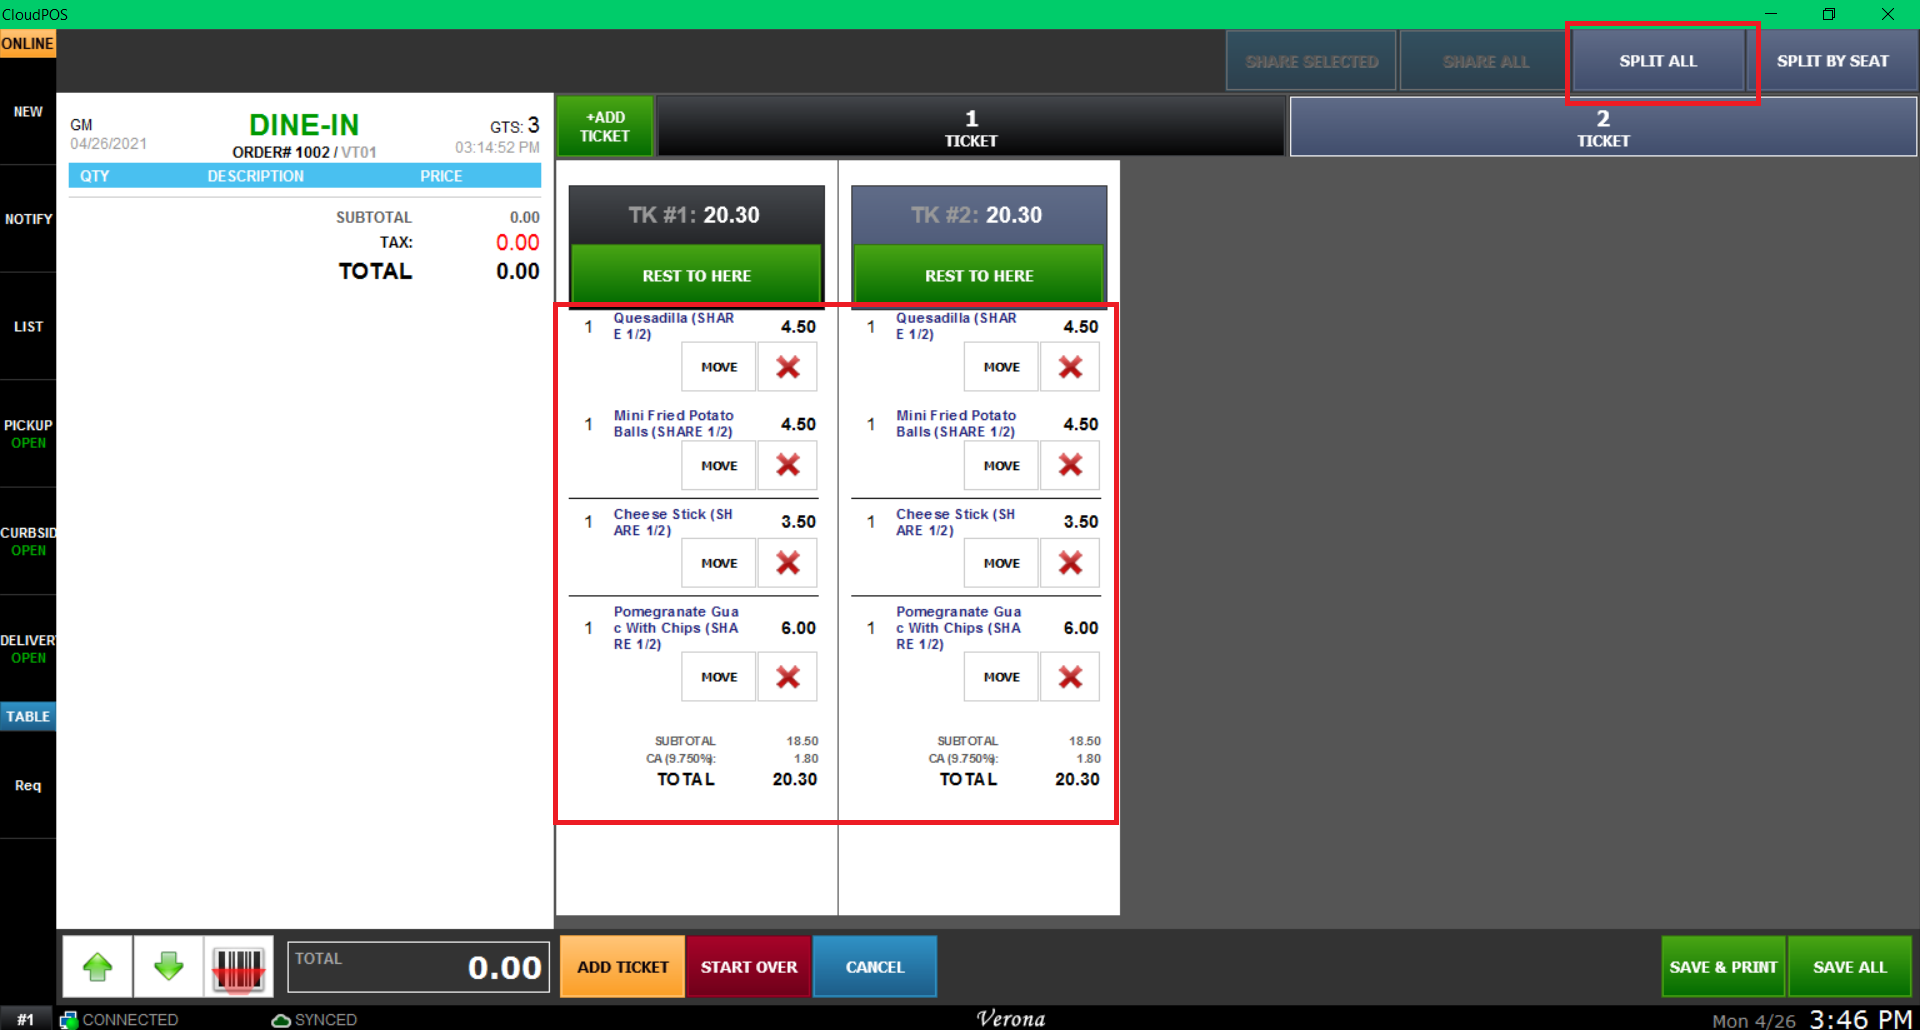
If you need to split an item to certain tickets, you can select the item you want to split and click the *Share Selected".
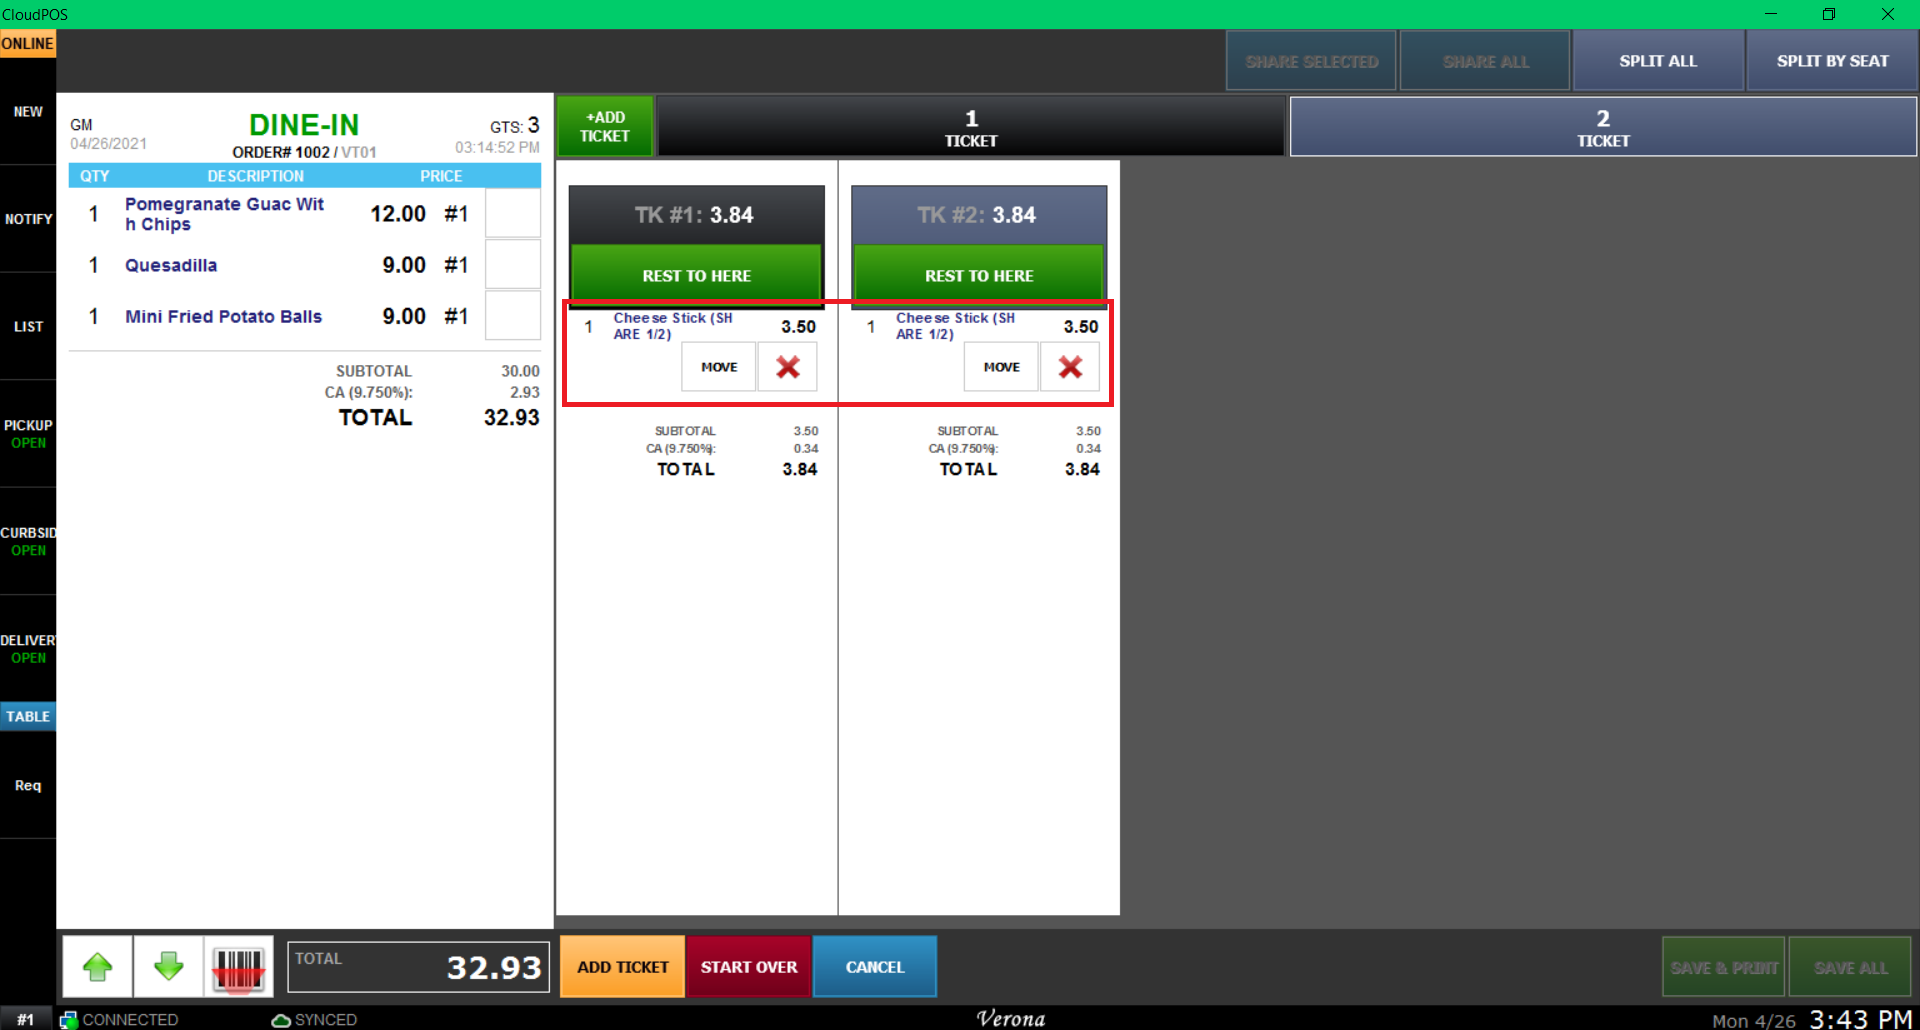
If you want to remove an item that has been moved to a ticket, press the X button under the item.

If you want to move an item to another ticket, use the MOVE button under the item. When prompted with the ticket selection, select the ticket the item will go to.

Using SPLIT ALL all split all remaining items equally to each ticket
.