POS Hardware setup guide
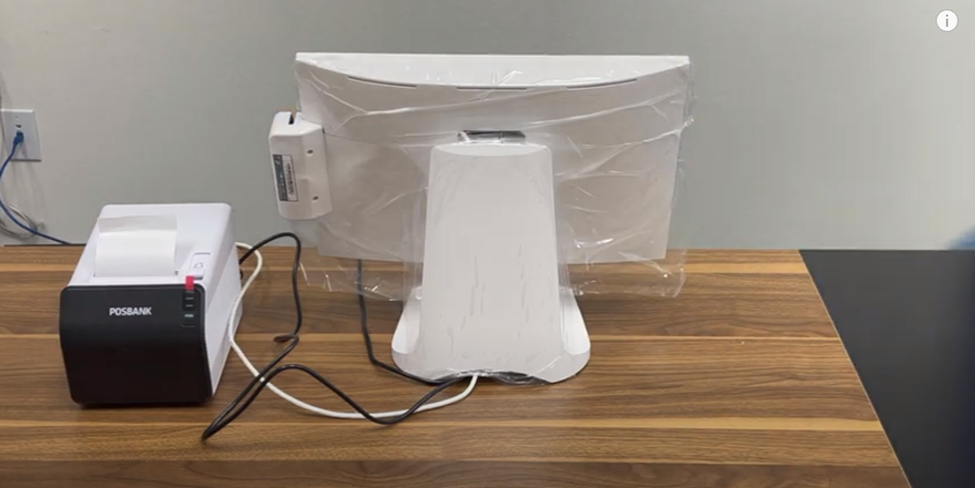
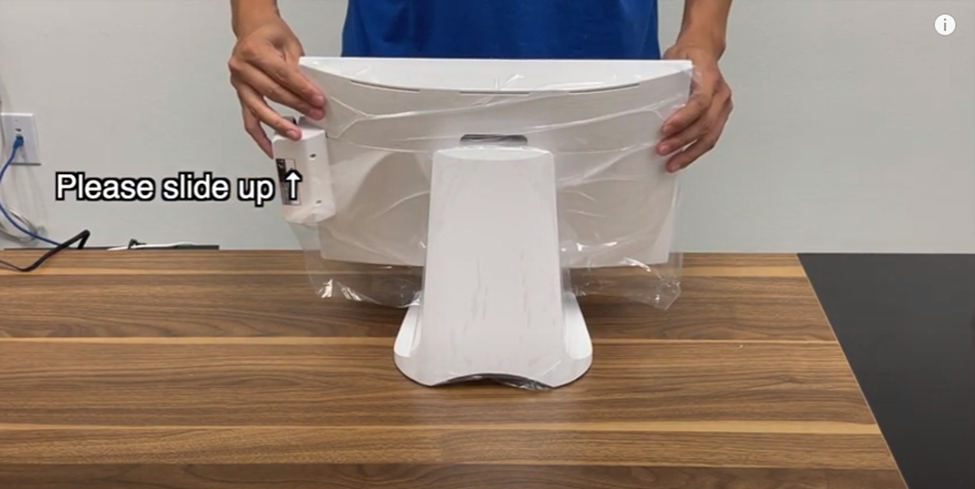
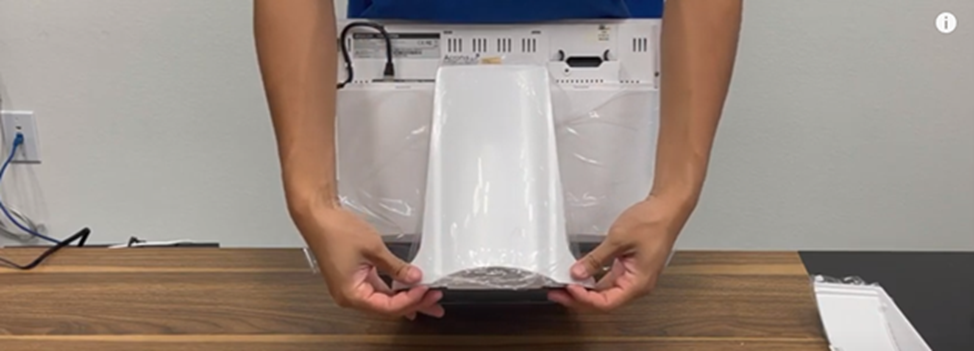
1. Unbox the POS and place on a flat surface. Rotate the POS to back and slide up the top cover of the POS.
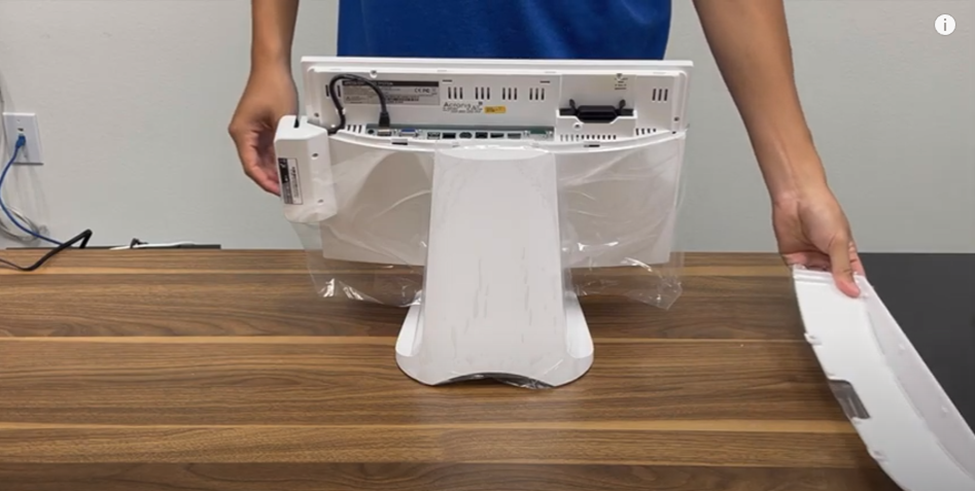
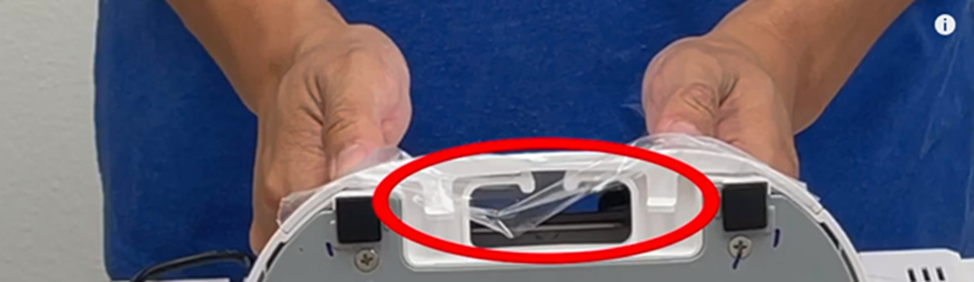
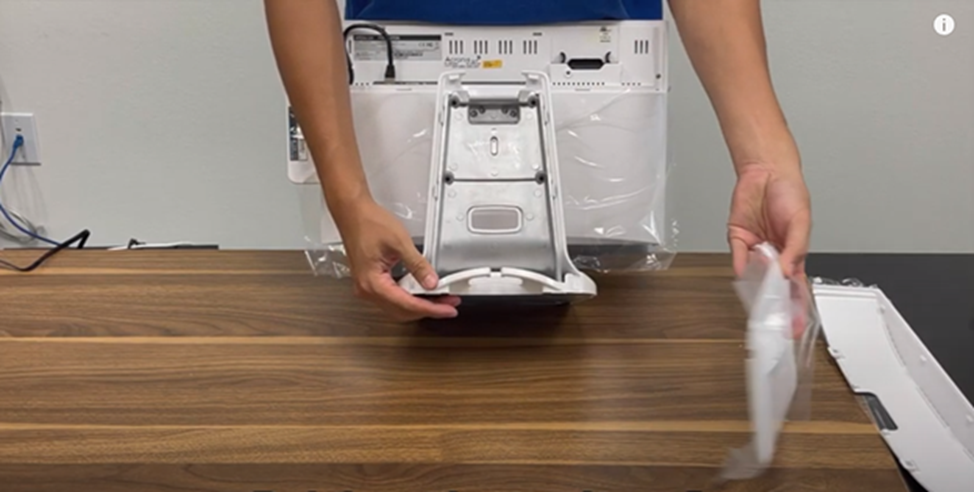
2. Locate the two notches at the bottom of POS stand and push them outward to unclip them. Once the notches are unclipped, slide up first and down next to remove the back cover.
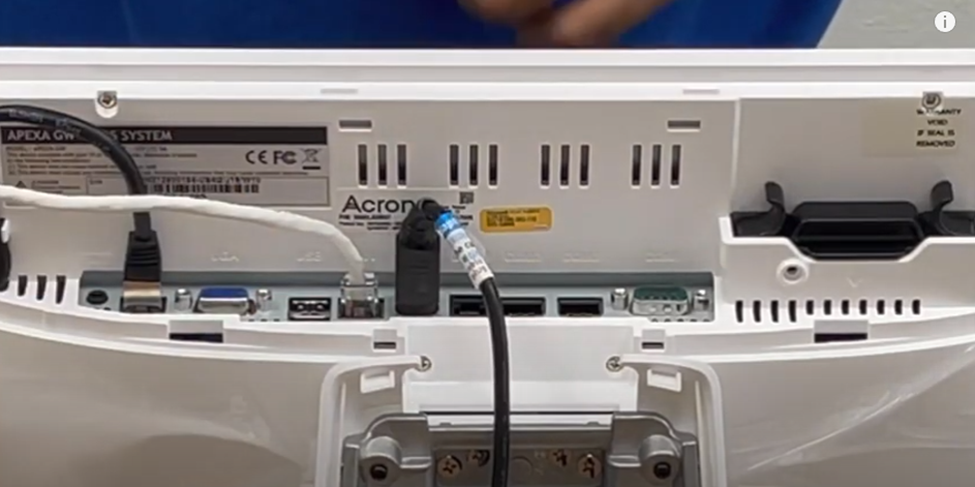
3. Plug in the power adapter to the appropriate socket. Do notice that the flat side of the power adapter should face outward
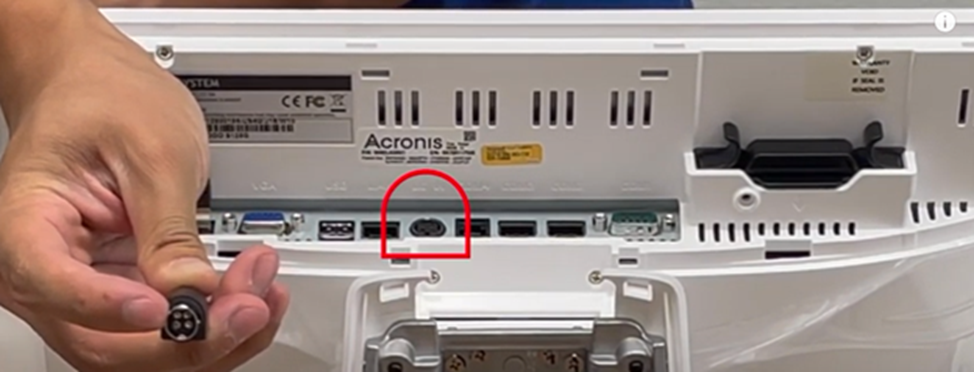
4. Connect the LAN cable to the LAN port. LAN port is located next the power adapter socket.
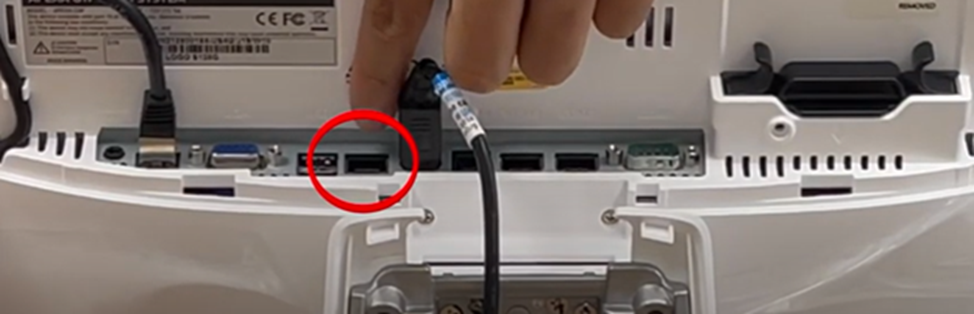
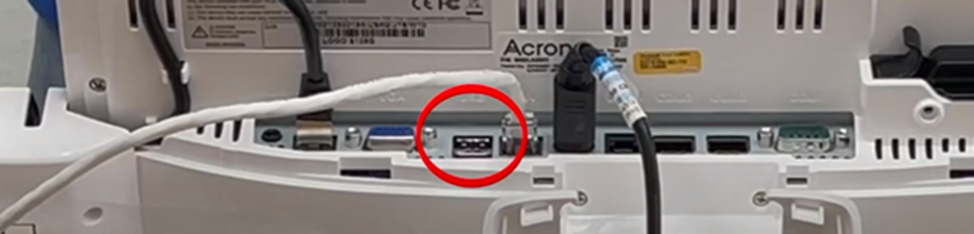
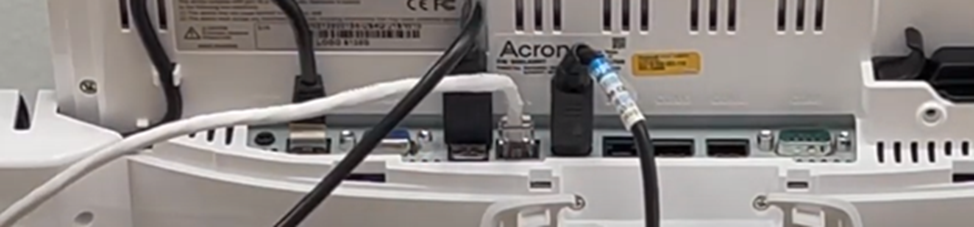
5. If you have a receipt printer ready to be installed, locate the USB port and connect the receipt printer’s USB to it.
(See Receipt Printer section receipt printer setup. LINK:https://docv2.veronapos.com/customer-support-time-line/hardware-setup-guide/receipt-printer-setup-guide
6. Put back the back cover and top cover of the POS to finish setup.